Seems like sometimes things happen at the 11th hour! After submitting my dress to the Winter Show, I ran into a few logistical snags in the assembly and finish of my dress. Namely, misplacing my trimming and, after replacing what I thought I’d lost, running out of material and needing to make another trip. But, it was all finalized in time for the show, which was great.
Where I last left off, I was remaking the form of the dress in order to make for a more attractive silhouette. The Photoshop image really did help a lot, not just for the structure, but also with helping me imagine the colors – looks miles better in person. I did end up adding more connections between each section, which came in very handy when I was dealing with the wood, but what I didn’t account for was the rather significant weight difference between the foam core pieces and the wood. Even though my pieces were only 1/16″ in depth, they were much heavier than the foam core which made. This wouldn’t have been an issue, but my new connection was a very pretty semi-elastic, black mesh material about 1″ wide – not as strong as my macrame, but less initial work I suppose.
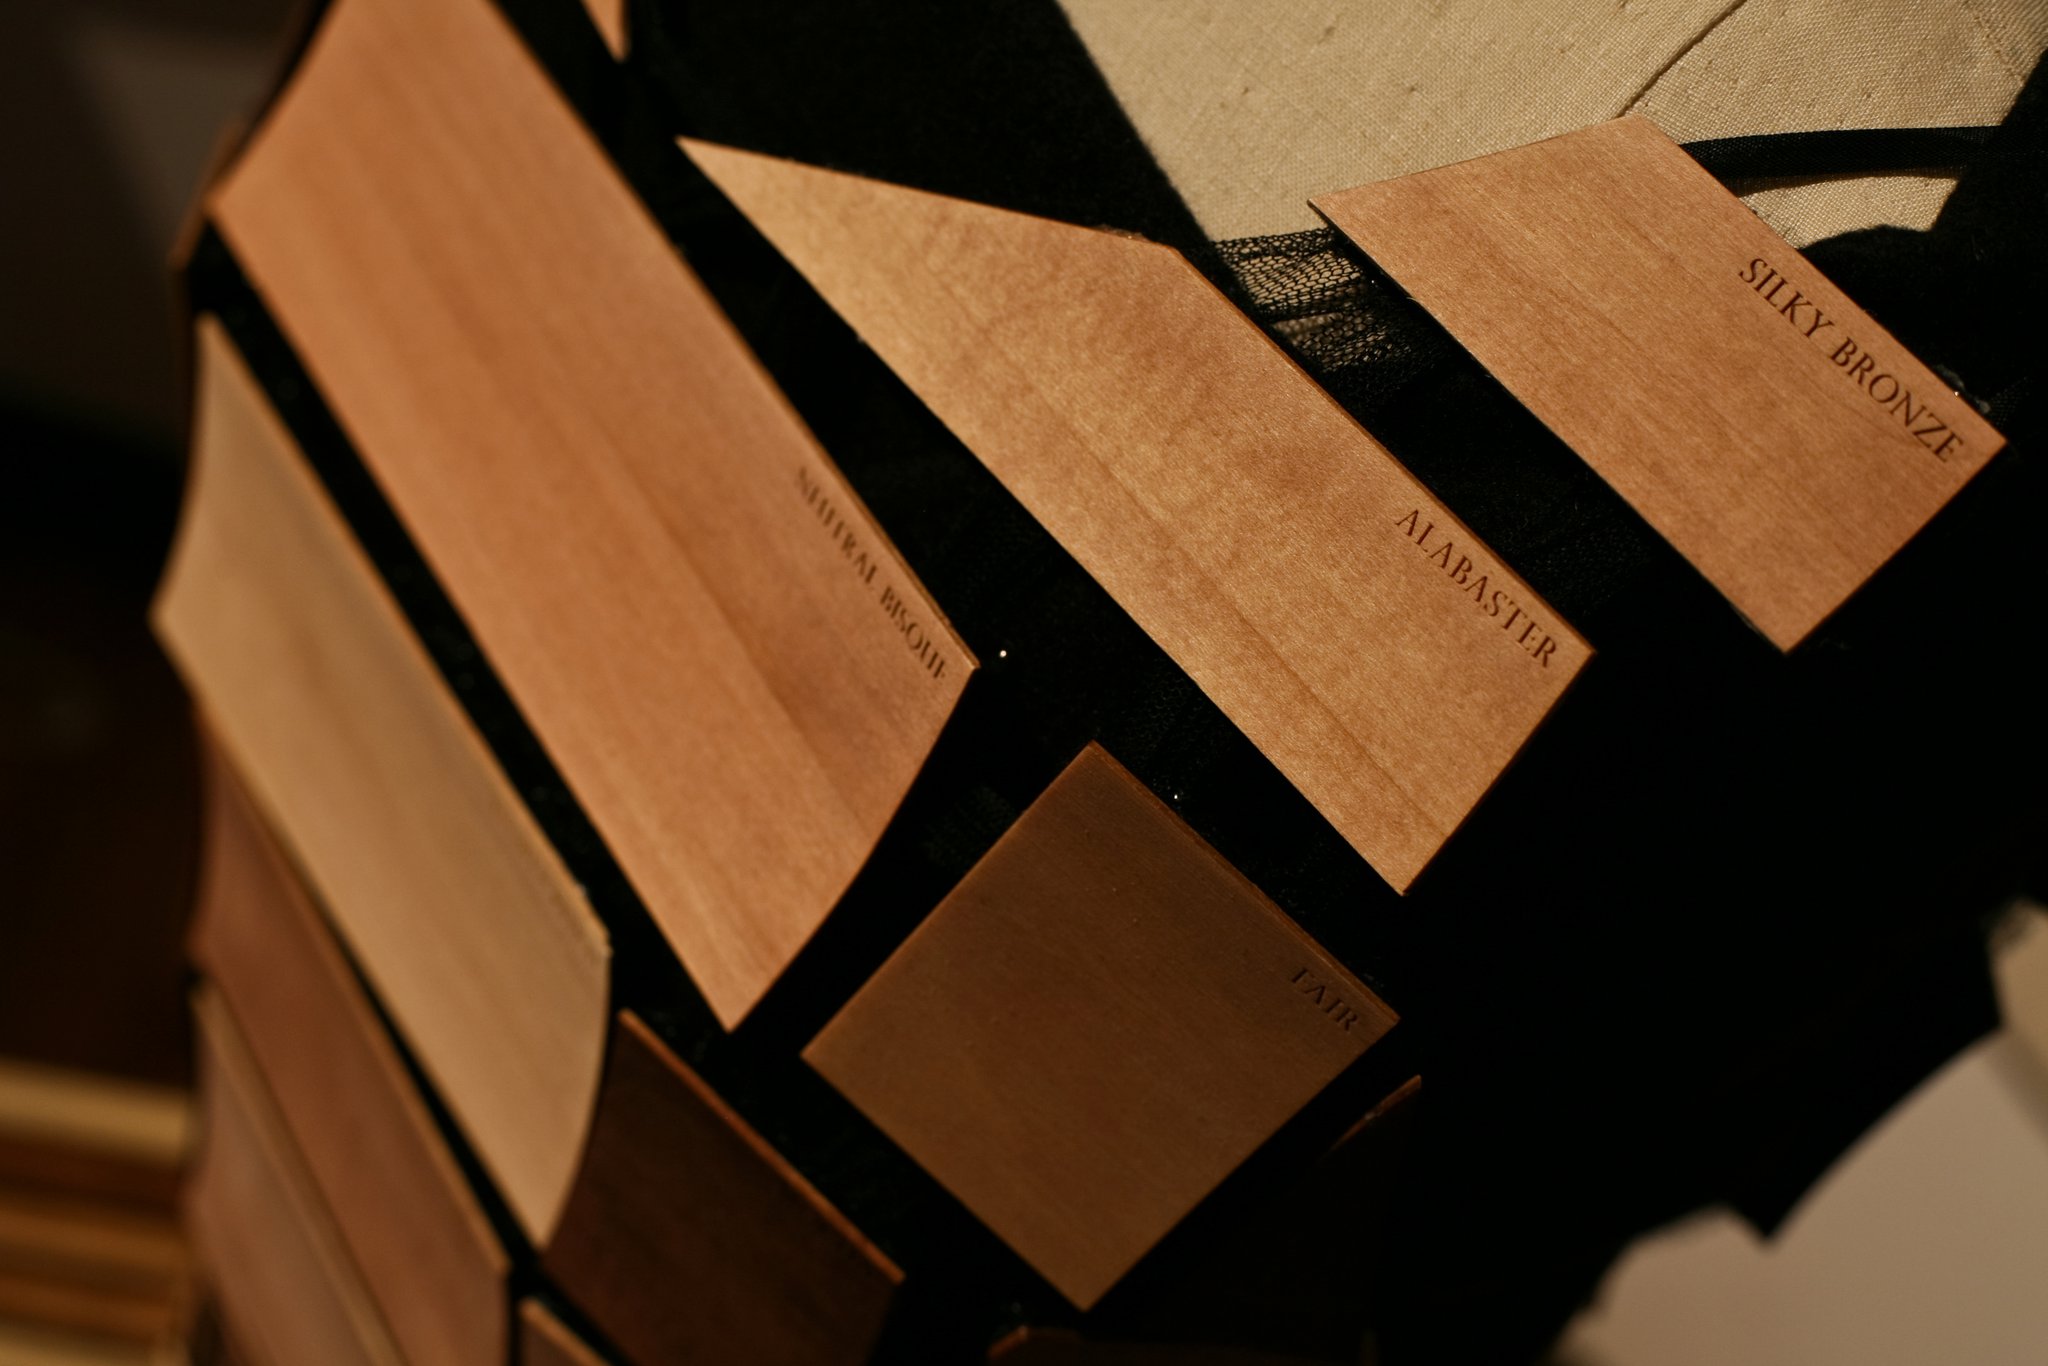
Anyway, after I was finally satisfied as much as I could be with the structure of the dress, I took out a ruler and notated the dimensions of each piece, on each piece. These dimensions, I transferred to Illustrator so that I could use the laser cutter to cut out each piece. Meanwhile, I spent some time on the websites for Sephora, Chanel, L’Oreal, MAC (really just for color), Lancome, etc., to find the names of foundation colors. I also decided on a font after downloading several: a slightly modified Perpetual Titling MT. Using this font, I put the names of a foundation color, either real or imagined, onto each piece of wood with a raster etch setting using the laser cutter. This step took a 2-3 days; human error issues.
Finally, I had all my pieces…but still, I had to dye and attach them!! This is finally where my hard work in finding the right colors paid off. At first I felt really overwhelmed because it had been so difficult the first time. But, when I finally sat down, with a good chunk of time to work, it was fine. Writing down the formula on the back of each sample piece was super helpful, but so were my notes. My only regret for this step was getting flustered and rushing when trying to meet an earlier deadline, and not dying both sides of each piece. In the first case, I wasn’t very methodical about the colors and in the second, it meant that the wood pieces slightly curled a bit when they dried. Apparently, this is a feature of basswood….
On to attaching! For this, I used black felt in 2 layers. The first layer went directly onto the back of each wood piece. Then, my connections attached to the under layer of felt, which was then covered with the 2nd layer of felt, to give it a nice attractive finish. Let me just say that I love hot glue. It was at this point that I realized that my wood panels were so much heavier than the foam core, and so I spent a decent amount of extra time reinforcing what I’d already glued. Very time consuming.
Finally, with dyed, felted and attached and reattached pieces, I decided that enough was enough, and I just needed to put it on the dress form. Right before I did so, I draped some black felt over the form to make a little dress, which I actually quite liked and got a few compliments on my unknown draping skills. I thought the black just helped the pieces pop out nicely, but it was difficult to see the connections between each piece. I also made the dress because while I’d done what I could to help the dress fit properly, it wasn’t perfect, and an under-form seemed to help give it more body than it would if it had directly been on the dress form. Ultimately, the front and back pieces were not connected to each other, and I used straight pins to help the pieces sit flatter on the black felt. An aesthetic decision.

During the show, I got a lot of “But, does it do anything?” questions. No, I told them. It’s more conceptual. Then I began explaining my process and how I’d done everything by hand. Sometimes they tried to find their colors, which was fun to help them with. I’d gotten much faster at it. It was a fun project. Definitely different from my video piece, but still the same in that the last piece required a physical action that affected your own experience, with a slight augmentation by technology to affect the experience, rather than using a physical action to use technology directly to augment the technical experience. I do have to say that I enjoyed many of the other students’ projects – very magical. Still, it was a fun project for me. I hope you enjoyed the photos!
