So, I’m now researching wood, wood stains, and bindings. I’ve got a good idea, sort of, for the wood stains – just mix until I get a color that sort of looks like a skin tone. Repeat. The difficulty will be in getting quality dyes, doing the mixing, and preparing and finishing the wood.
The bindings, or how to connect everything together, is a challenge. It’s easy with foam core and hot glue, but now I’m thinking of the wood. Hot glue is not going to cut it. I sort of worked out this thing with twine…. I don’t know. Looks ugly to me. The difficulty is the fact that the pieces need to attach both vertically and horizontally. It’s the side-by-side stuff that screws everything up.
My next activity is to brainstorm more on the binding aspect. I’m going to try researching samurai costumes, since that’s what everyone says my prototype reminds them of, and also Hussein Chalayan’s work. I’ll also just try sketching out a few ideas and working more with twine and the pieces of wood.
Finally, after many tears, I have an idea for my Wearables final! (And, for Materials, too.)
In one of my Wearables classes, we had a workshop where our instructors, Despina Papadopoulos and Zach Eveland, went around to give each of us some one-on-one feedback about our projects. Up until this point, I’d been working along the route of making a pair of pants that turned on a switch or something when you walked. The idea came from thinking about the inner thighs or legs, which seem to come as a “target” area for exercise. But, honestly, my design really didn’t work for a few reasons. I wanted riding pants which someone self-conscious about their inner thighs probably wouldn’t wear. Then, it didn’t really seem to thoroughly reflect a lot of the research I’d previously done.
When Despina came over to see how I was doing, she had difficulty understanding my idea, and we went into the classroom to talk using the whiteboard. Well, she ended up asking a lot of really good questions…that sort of caught me off-guard…on a day or week when my confidence level was WAY low. I sort of ended up breaking down…. Despina gave me some really great encouragement and basically told me that I can’t fail in trying to do something, so I shouldn’t feel like my ideas are crappy. Eventually, I rejoined everyone else, and went back to brainstorming. By the end of that night, I’d already sketched out a new idea. And really, I just figured, “You know, just try it. If it’s crappy, fine.”
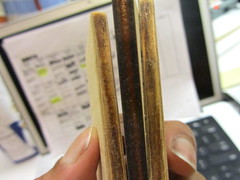
While I was thinking of my new idea, I thought of just one part of the body. The skin. And, in relation to my research, I obviously thought of skin color. And then I thought of what could represent skin color. In my Materials class, Peter Menderson showed us some really nice wood veneer samples, for different types of wood and in different colors. Different brown colors…like skin.
Wood. Skin. A wooden dress.
So, right after that night, I immediately started prototyping. First in paper, then in foam core. I used twine to connect the pieces, which I eventually secured with hot glue. So now I have a full dress. I actually can wear it – luckily for me, one of ITP’s dress forms pretty much has my measurements.
Now, I’ll need to look into different types of lumber, wood stains, connections – metal, twine, leather…? – and also just adjusting the height/width of each piece. Fully, my idea is to make a series of wooden dresses, from dark to light, representing a range of skin tones. Unfortunately, given the amount of time left, I don’t think that’s possible.
I made this metal box for Materials. There are 2 sections because it seemed more useful than just one – and it has been. I’ve been using the box for other projects ever since I made it. I need to file down the sides because they’re kind of jagged and sharp, but it’s pretty nice. And it’s magnetic.
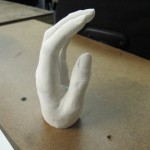
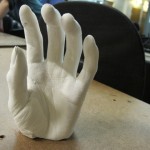
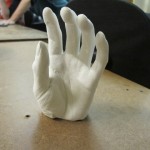
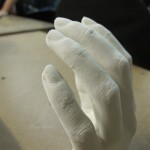
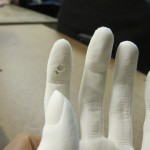
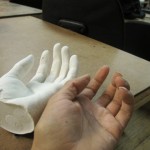
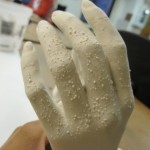
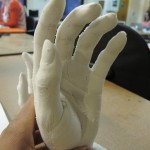
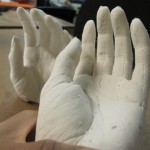
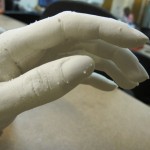
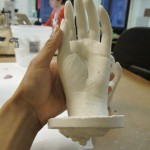
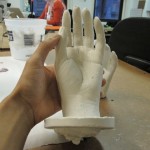
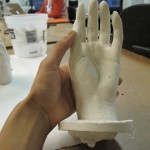
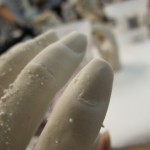
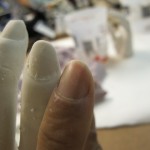
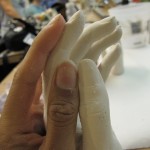
In Materials class, we covered molding and casting with plaster. I really liked the assignment for this week, which was just to make a cast of my hand.
The steps are pretty simple, though easy to mess up. Basic run through: Just cover your hand in Vaseline, stick it in some Alginate, wait for Alginate to harden. Alginate is mixed at a 1:1 ratio – one part Alginate, one part cold water. (Hot water makes it harden much faster than you expect, and possibly before you’ve put your hand in the Alginate.) When the Alginates done, slowly remove your hand. You’ll have a negative mold of your hand. Pour into this some molding plaster – 2:1 ratio, plaster to water – and wait for it to harden. The plaster will take under an hour to harden, but it will take a few days to completely dry. When it’s thoroughly dry, you can use it in silicone rubber or polyurethane rubber molds.
There were 2 projects to turn in for Materials this week. The first was to make a cube out of a foam core board. The second was to carve a 3-D object out of blue or pink insulation foam that was at least 2 layers deep.
For the foam core cube, I’m using the cube we worked on in class since it turned out pretty well. On only one edge did I kind of go just a little too deep into the bottom layer of paper. But, for the most part, it was pretty exact – the lid stayed shut pretty much on it’s own.
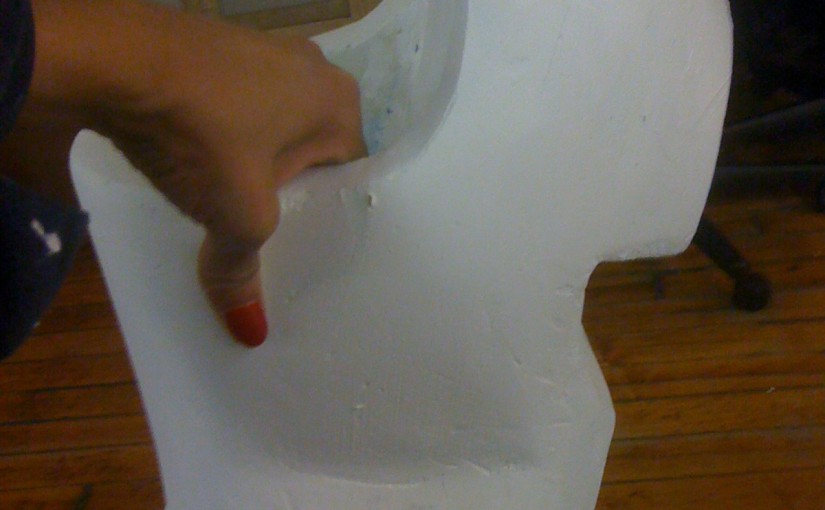
For the 3-D object, I had the idea to make a giant replica of a Dutch clog as soon as our instructor gave us the assignment. I’d already had some experience with working with foam, from a previous project. For that project, I only used 1 layer of foam to create the last project, whereas this time I used 5. I started out with two drawings, a top-down view and a side-view.
First, I did some research on what clogs actually look like. I searched for ‘wooden shoes‘, which brought up a nice selection of views for Dutch clogs. Most of the views were 3/4 views, but a few were front and side views. I approximated and drew 2 pictures in my sketch pad. The horizontal lines on the side view were added when I was transferring to the drawing to a larger piece of paper, to help me see how to properly align the curves of the shoe. Originally my transferred drawing was way too big; after drawing it, I realized that creating a clog that big would cost require at least $100 in foam. So, I decided that it would make more sense to draw the 2 views of the shoe within specified measurements, in this case approximately 18″, just under the width of the 24″ boards.
At this point, I had essentially 2 stencils. Before cutting them out of the paper, I used them to measure out how many pieces of foam I needed to cut and glue together. When I had all 5 pieces, I mistakenly glued them all together with the glue tape. It was a mistake to glue them all at this point because when I went to use the band saw, to cut off big chunks of unneeded foam and generally make the foam into the approximate shape I needed, I found that my block of foam was too big for the saw. So I pried apart the foam and then drew the shape of the clog, using the side-view stencil, once onto the 3-chunk block of foam, and then reversed it for the 2-chunk block of foam. Having the exact shape made it easy to use the band saw to cut the shape of the clog out of the foam. It was still pretty blocky, with 90 angles.
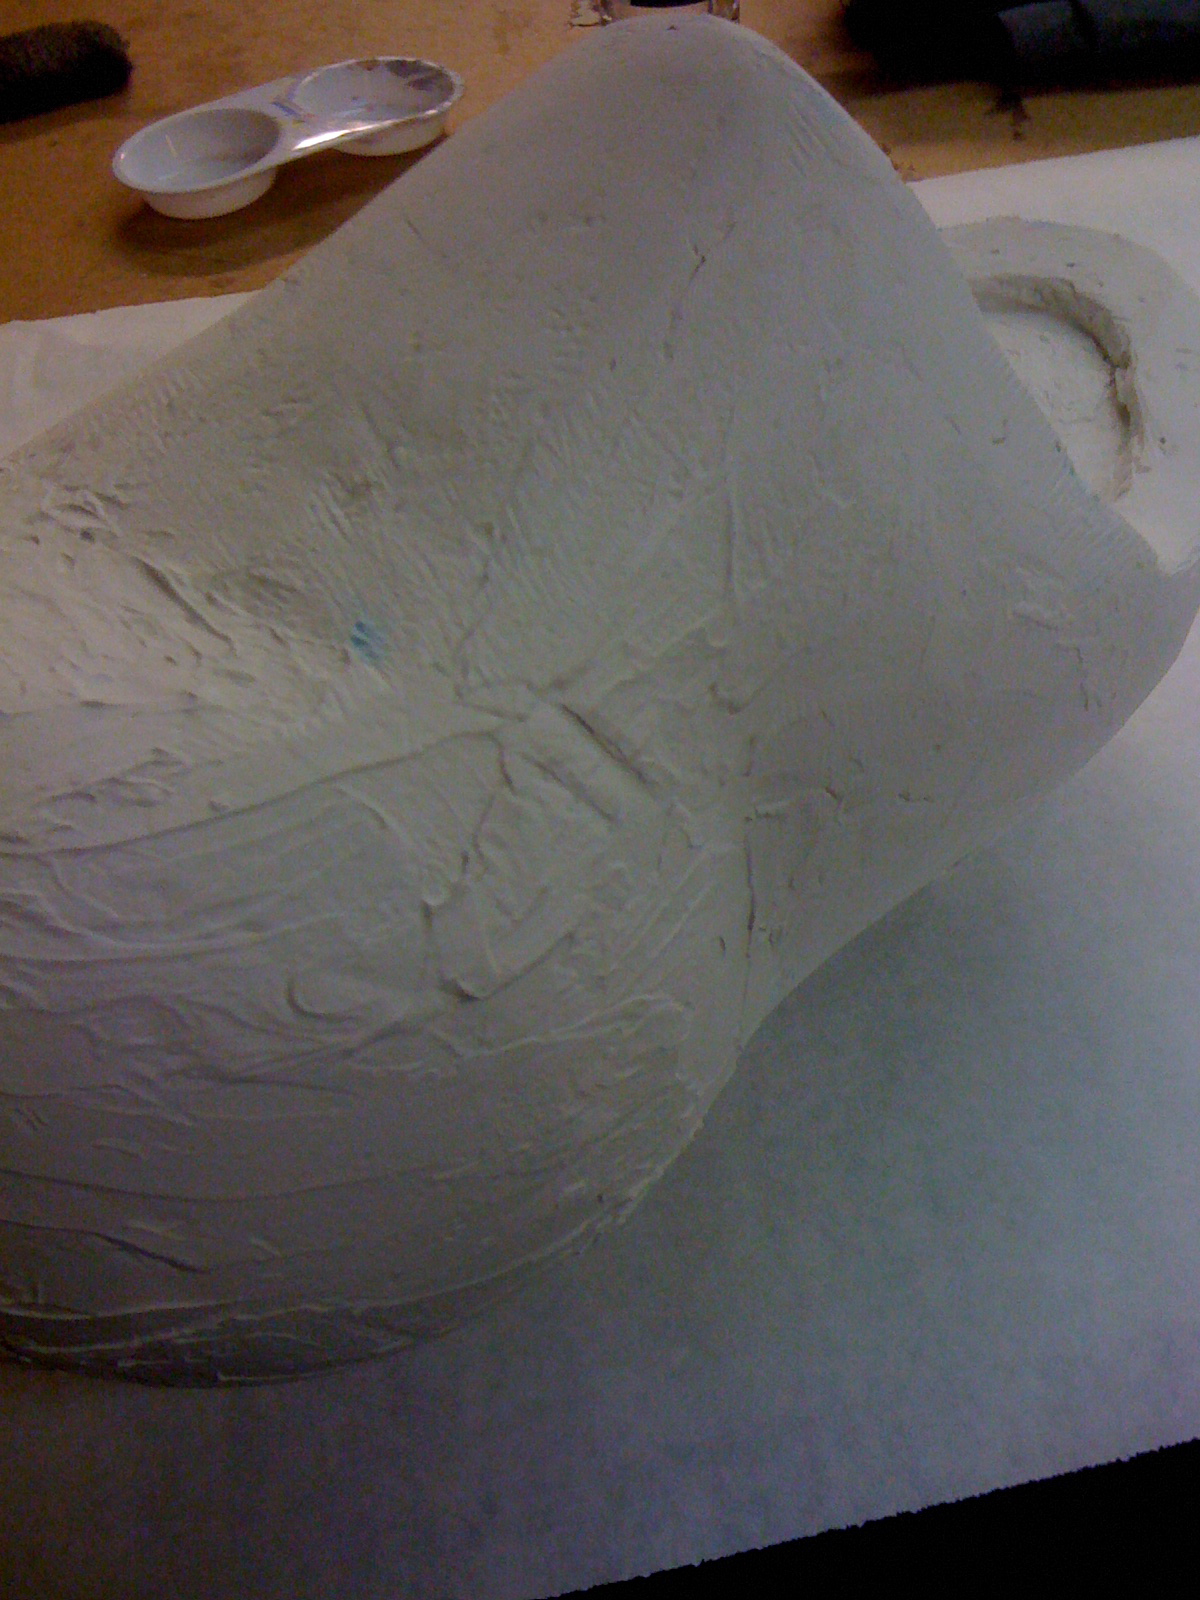
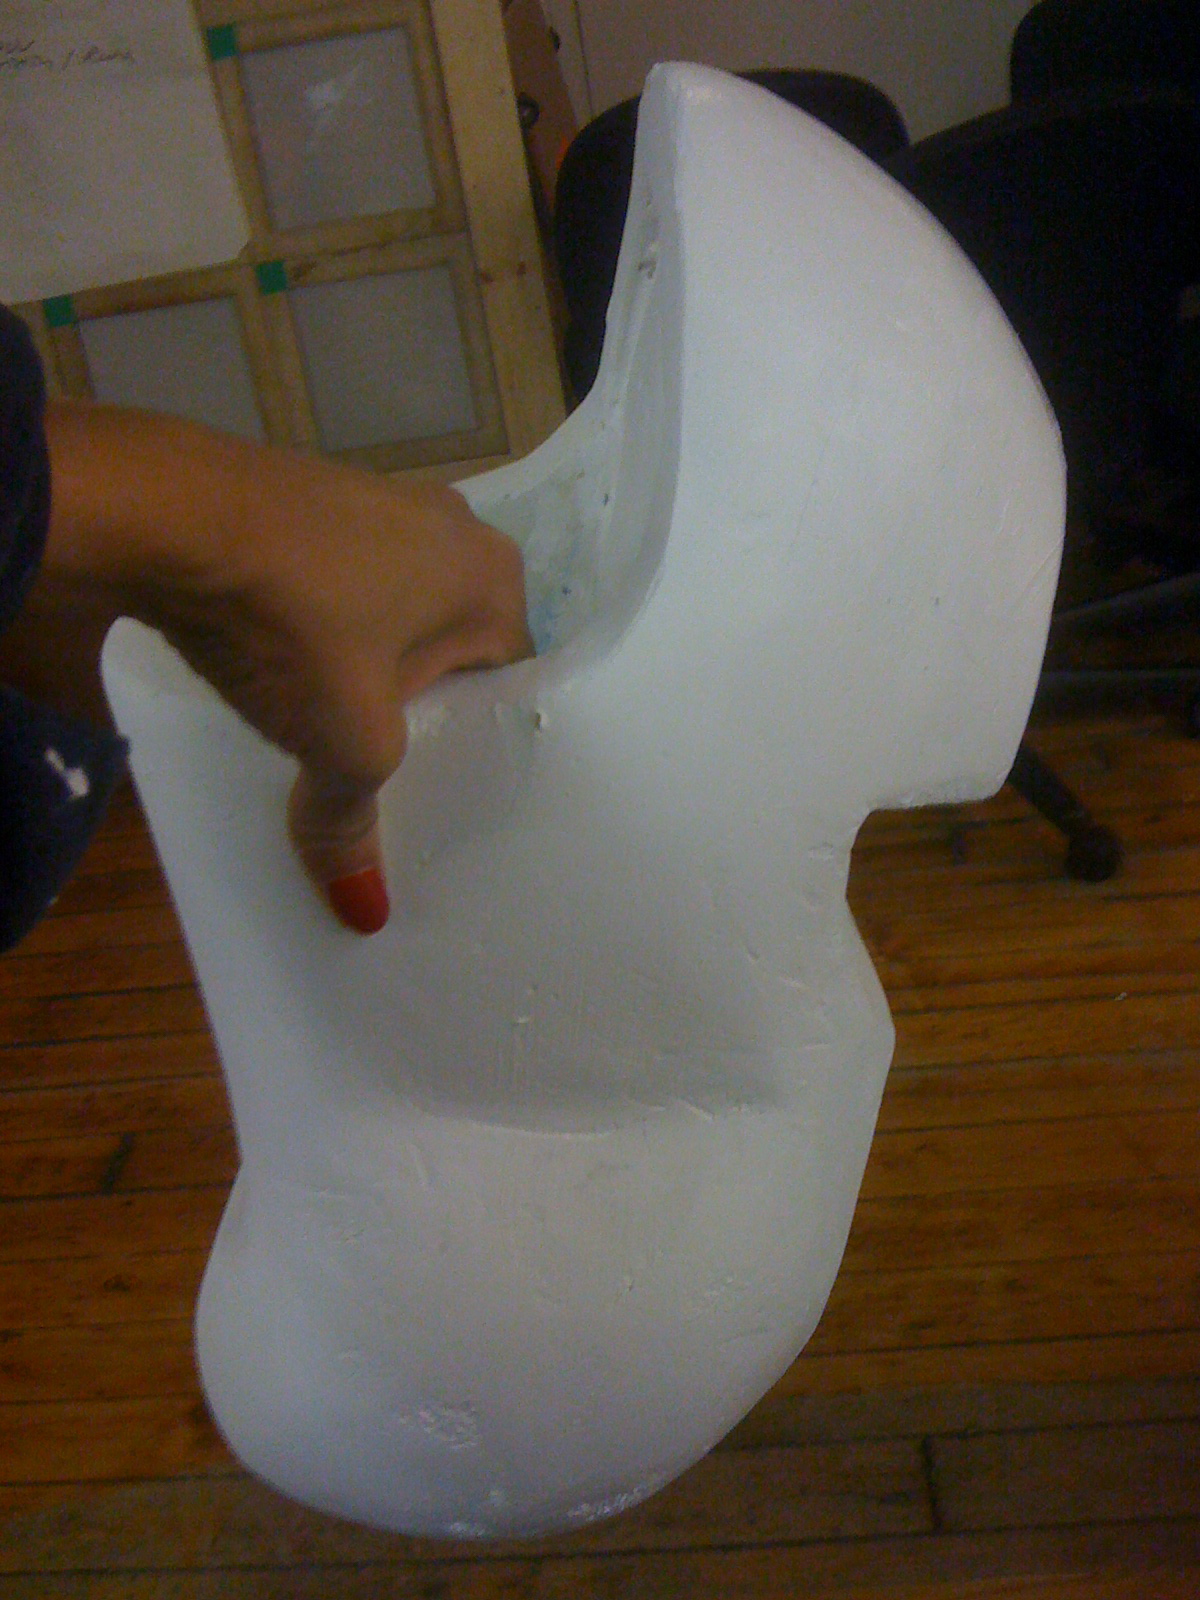
After this, I drew the top-down view of the clog onto the bottom of the clog. Using a hand saw, because the chunks were now re-glued together, I started the long process of shaving and sanding away unneeded parts of foam, in order to shape and smooth out the curves of the clog. For a large majority of the shaping process, I used a metal file that really helped me get rid of a lot of foam.
Eventually, I ended up with a pretty good clog. The next day, I came back to use a piece of sandpaper to make the outside of the clog really smooth and to use a power drill, chisel or pick, to hollow out the back of the clog where a foot would go. I made for the size of my foot, but I didn’t try to stand in the shoe. It is just glued pieces foam after all.

