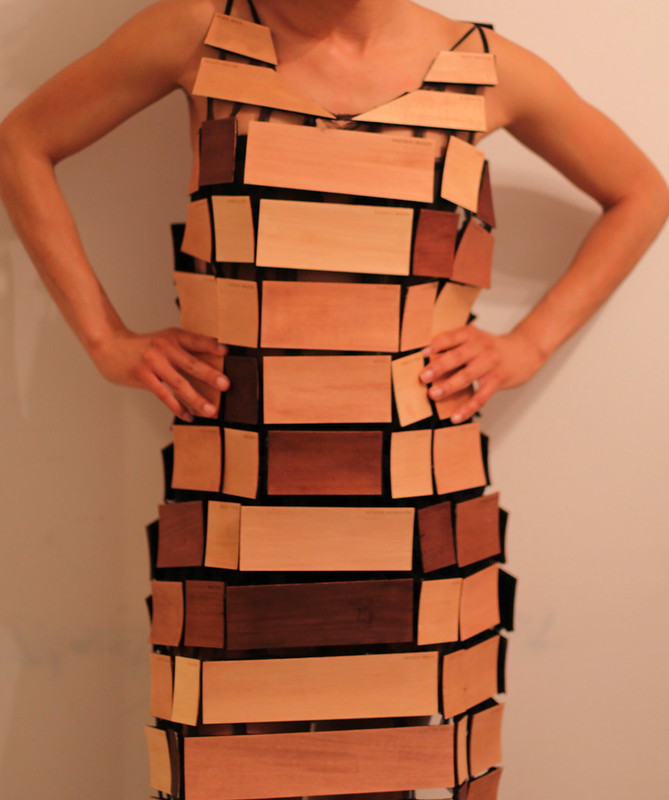
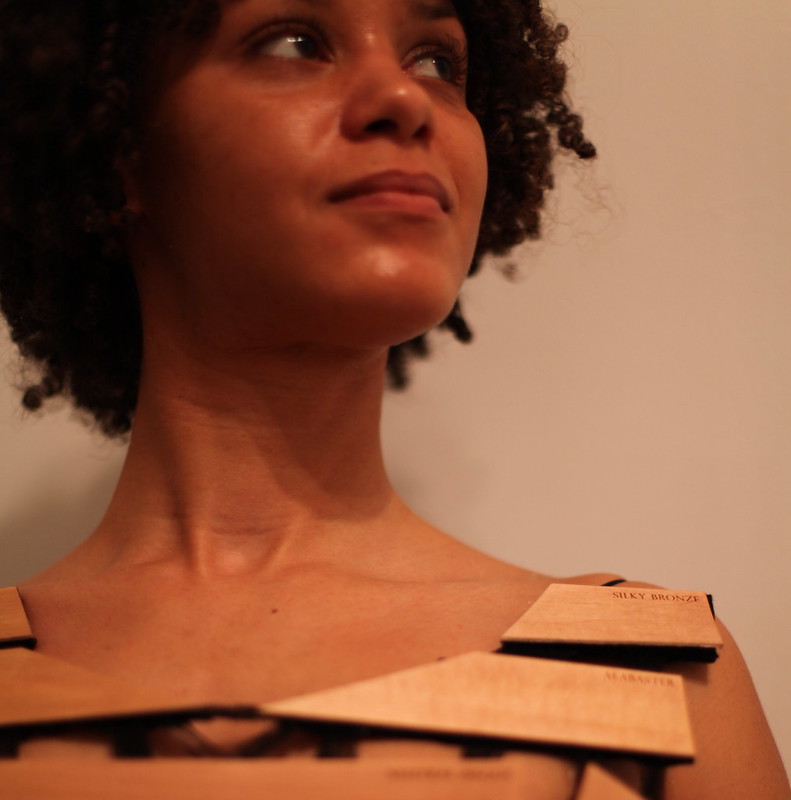
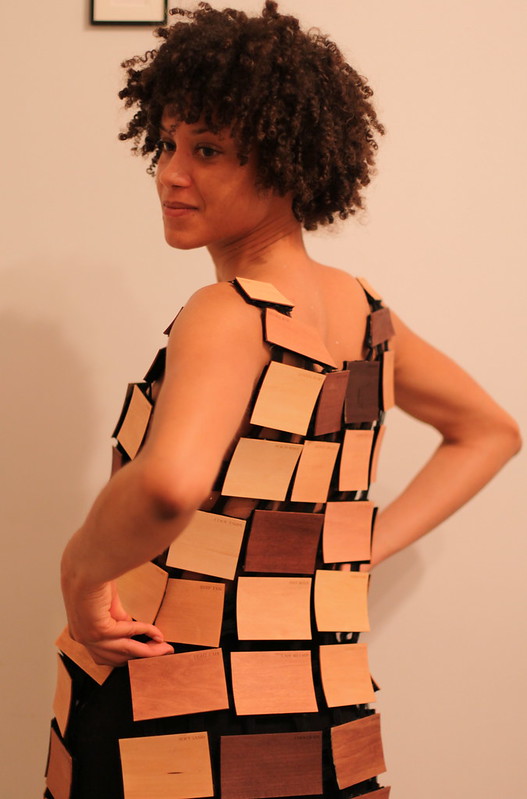
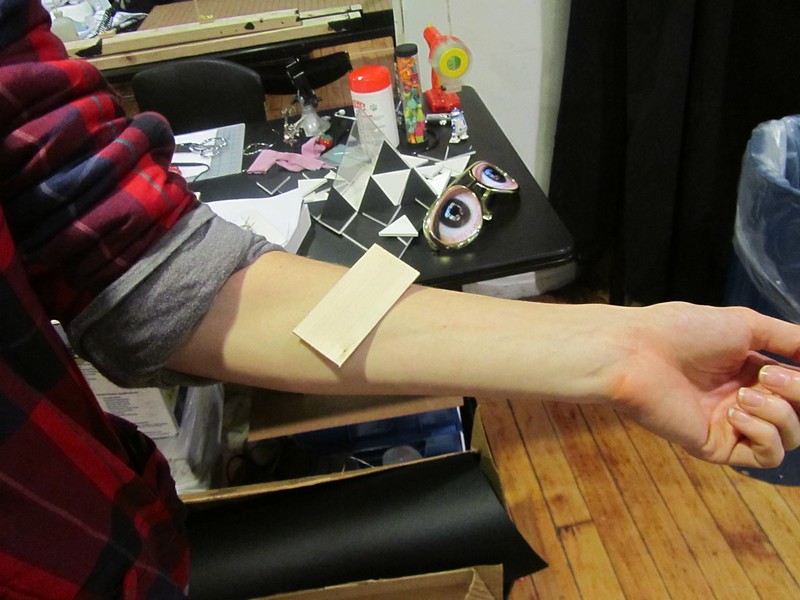
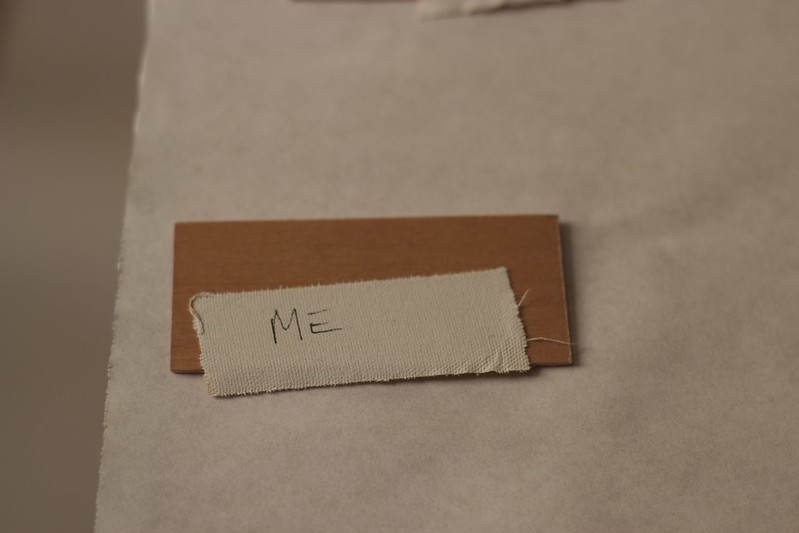
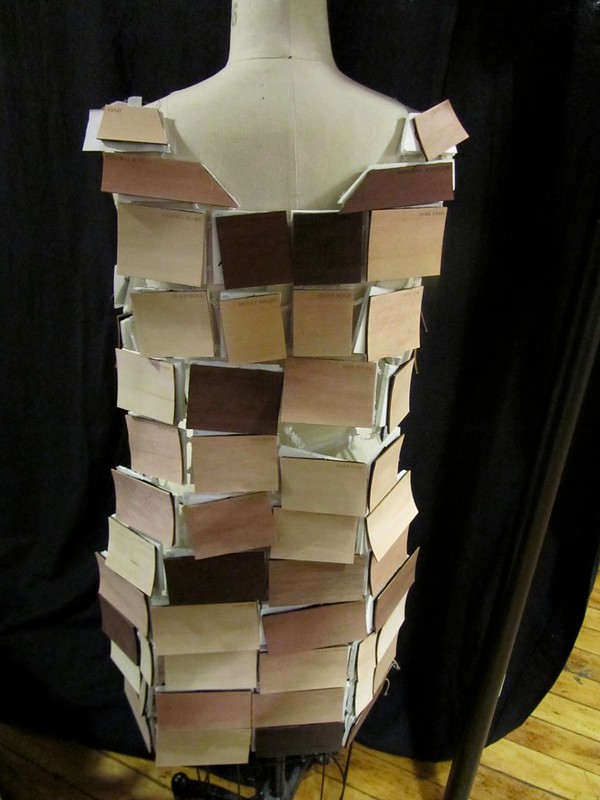
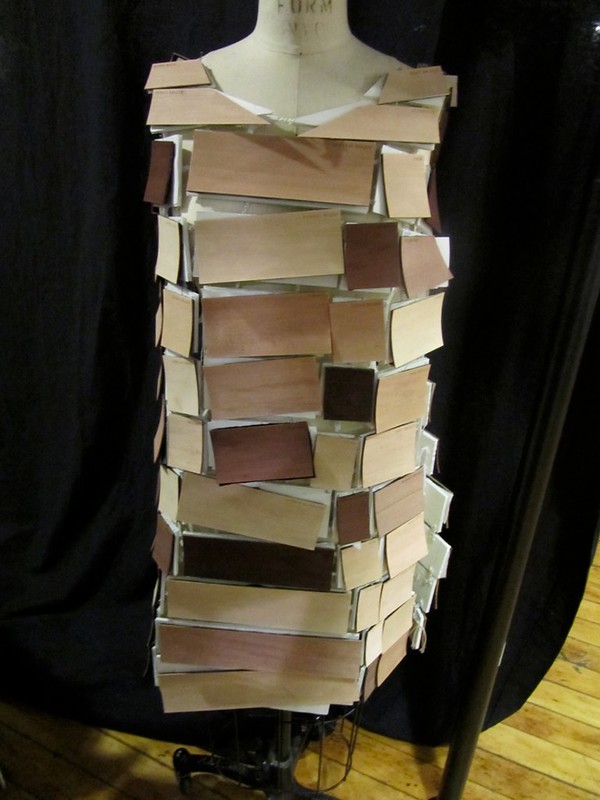
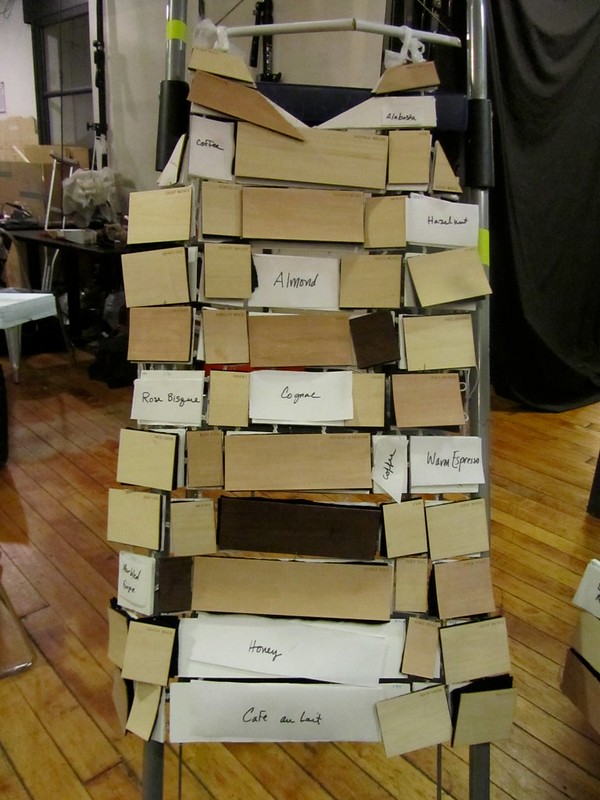
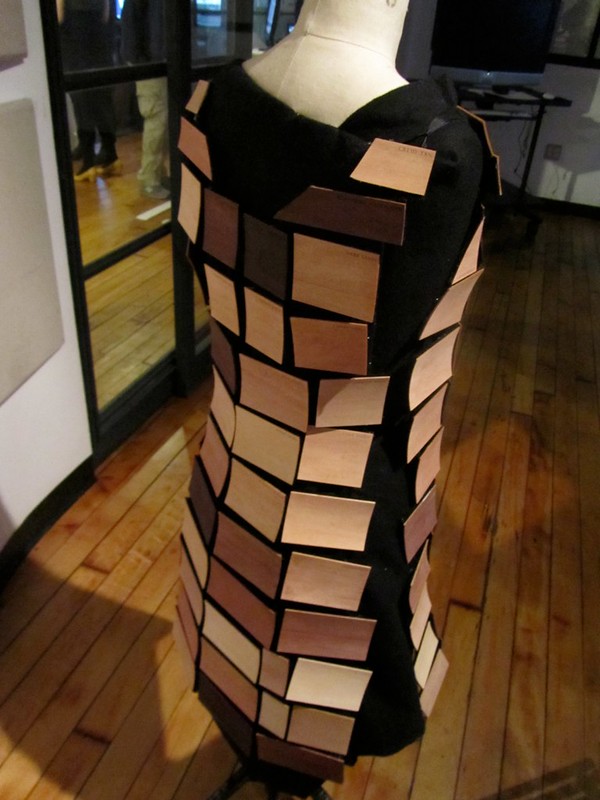
Again working on the skin tones. So, I’ve finally created about 15 skin tones that match actual people! I eventually got a some red dye, and mixing it with various amounts of brown shades, green, yellow, and blue, I got shades that looked so close, but for some reason weren’t quite what I wanted. One morning, I looked at my own wrist, to which matching foundation shades has always been difficult, and realized that my problem was that I was trying to match this dead piece of wood to something alive and continually changing. Then, I remembered that whether or not I was finding the right shades, I was going to have to match skin tones with the finished pieces of wood, so I added some oil to the wood to see what it looked like. What a difference! What I found was that by adding some Dutch or Tung oil to the wood, I got the depth I needed to replicate skin tone enough so that someone could say, “Hey, that’s me!” After that, I started finding people of various skin tones to match and found that with the oil, I was really successful – even to the point of knowing that in some cases, I’d already found the right shade.
Here are some pictures…I just tacked them to the end of another Flickr group.
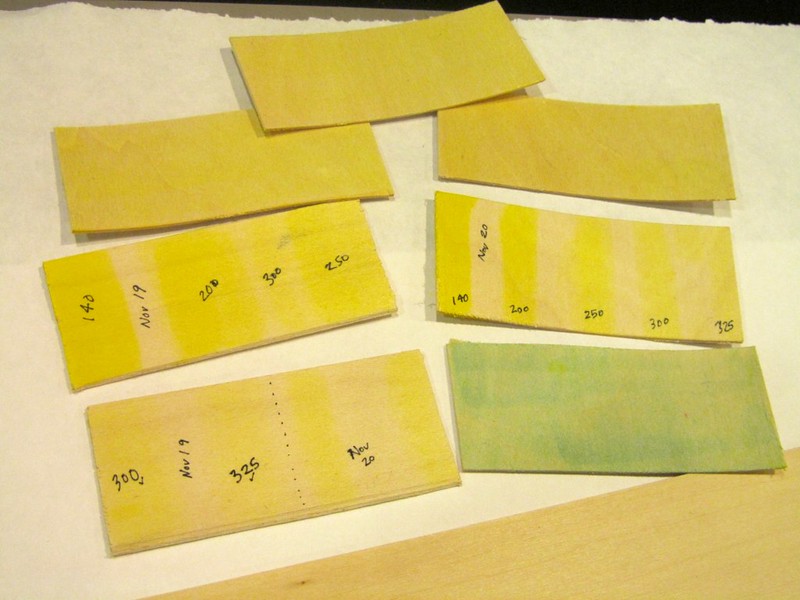
I’ve spent a good deal of time recently experimenting with mixing different strengths of dyes and water, and mixing them together to find the believable skin tone shades. While this has been fun, it’s also been really tedious since skin isn’t just light or dark brown, it’s also a little red and a little green and yellow. I’ve been mixing and mixing…and it was just today that I added the red. I think I might be getting a bit too specific, in that I’m trying to find the “right” shade, even though in the end, it’s going to look like wood that’s been dyed, no matter how much time I spend mixing. What I might try is to hold a few shades up to someone, and then take a picture. Cameras tend to flatten shades and from far away, I’m not sure if I would really be able to notice the individual fluctuations in skin tones, so I’d just see the overall tone (and be satisfied!). Eventually, I’m just going to have to stop and move on. But, I think I’m close.
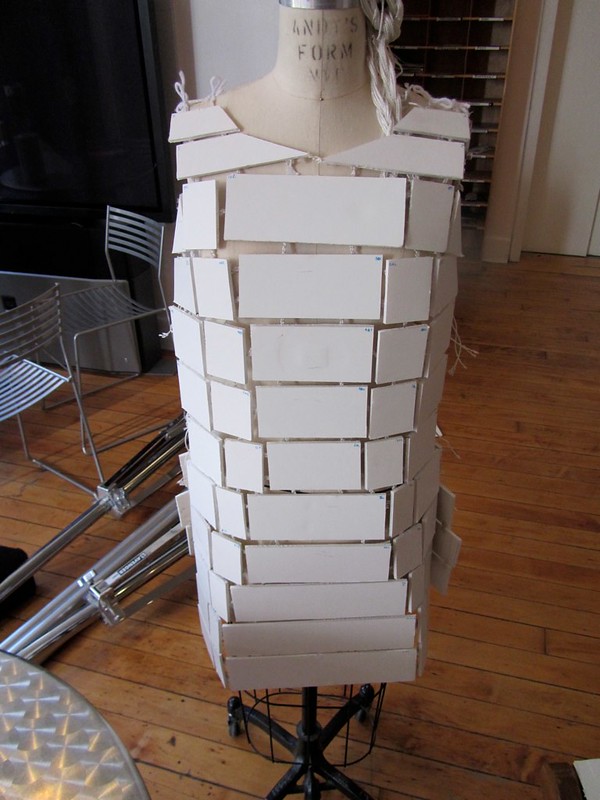
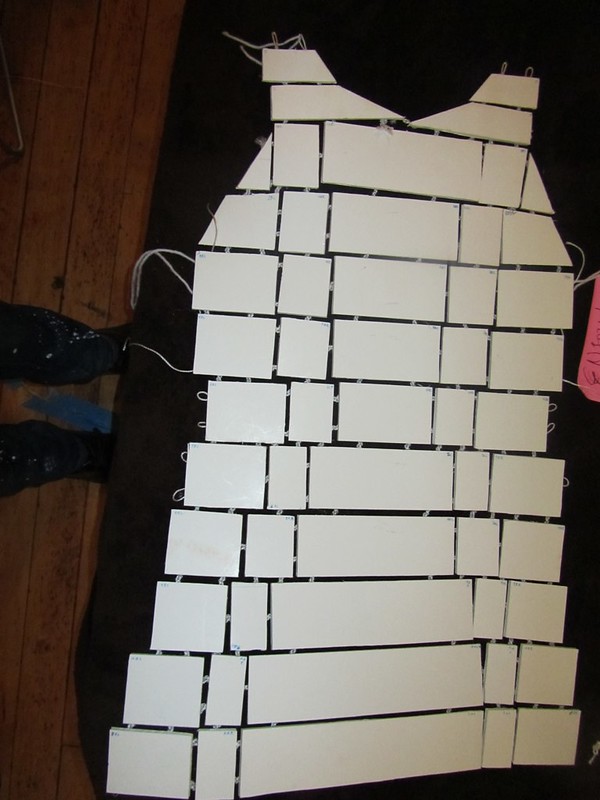
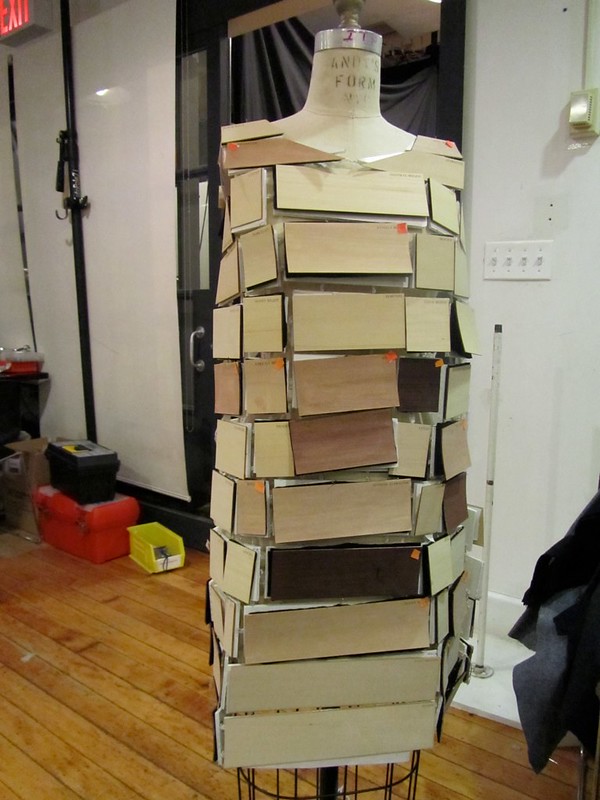
The wood I’ve been using has been balsa and bass wood, that I found at Blick. I’ve been cutting them into 1″x3″ rectangles. For a while, I was using both types of wood but I’ve just been using the bass wood for now. The color is more consistent and the texture is smoother, which makes experimenting with shades easier. I guess it could be argued that skin is not always smooth and consistent. Alright, well, I just like it better. Plus, it’s cheaper.
In mixing the shades, I used a medicine dropper for infants to be precise in my measuring – not only so I can remake the shades again, but also so I can use tiny amounts of dye at a time. The dye is aniline dye, both in liquid (brown, red) and powder (blue, yellow). The dye is extremely strong, so only a tiny, tiny amount is needed at a time. The dropper lets me use 0.2mL of dye at a time, whereas for the powder I found this little plastic/rubber thing that has very shallow rectangles that I can fill with dye. Each little rectangle is about the size of a fingernail clipping, so these are very tiny rectangles. I think I prefer the liquid dye. It’s easier to work with; I’ve found very small particles of blue dye on what I thought was clean bass wood, which is annoying and wasteful since I have to start over with another piece.
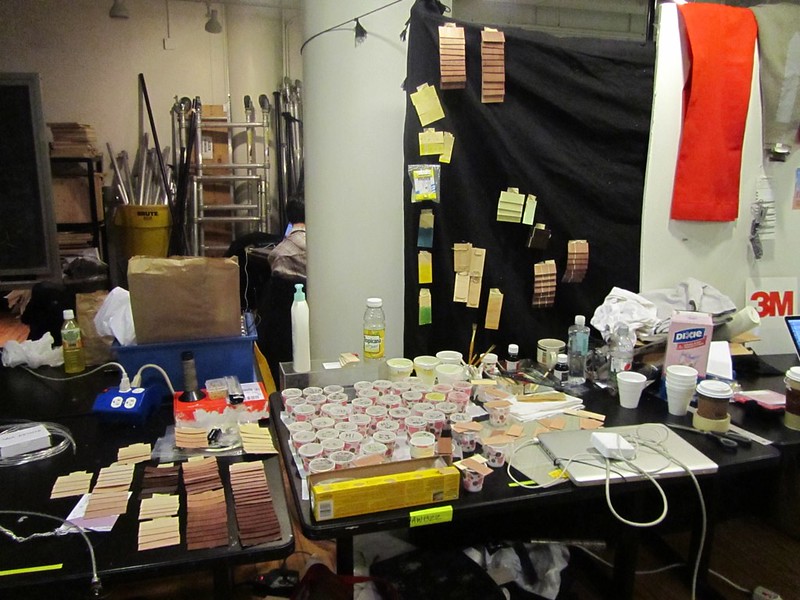
When I first started, I was using foam cups, and starting over with my mixing everyday. Recently, I started using this Press and Seal plastic wrap and switched to small Dixie cups to store mixed dye so I don’t have to go through the whole process of making it again. The Dixie cups aren’t very storage friendly – not as good as the foam cups – but I can store more stuff on my desk and I don’t need to fill them up completely. And the Press n Seal lets me clean as I go. I also have a little notebook that I’ve written down a bunch of colors in and given them code names, like P1R20Y1G3. I just write down the ratios and how much water to dye I added so I can remix the colors again, if needed. For instance:
P1 = .2mL dye/25ml H20
R20 = .2mL dye/100mL H20
Y1 = 1rect of yellow dye powder/100mL H20
G3 = 3:1 ratio of green to water
…and so on. This can go on forever. I just bought the red today, so I’m looking forward to finally narrowing these colors down. I’m determined to find my skin color, which is hard to find anyway. I think if I can find me, I can find anyone.